Unleash your inner artist and craft bespoke pieces of stencilled art for display at home. Or, tick off your gift list with heartfelt presents!
Stencilling is fun, simple and absolutely anyone can do it. It’s a great way to practise some mindfulness as you let your artistic side wander. Plus, using your hands to cut, paint, dab, and stick is a great way to unwind after a busy day.
There has never been a better reason to spruce up those old ceramic tiles, cheeseboards, or blank pavers around the house. The planet – and your pocket – will thank you! So, roll up your sleeves and rummage through the cupboards for some paint and tape before immersing yourself in the relaxing world of craft.
There’s nothing quite like decorating your home with your own creations, and they’re guaranteed to intrigue visitors. The best part is watching their faces as you explain that you made those pieces yourself (just don’t let on how simple they were to create)!
This ancient process has been carried out for centuries. Cave art found in Spain from 37,000 years ago was created through a process of blowing finely crushed pigment onto a wall surrounding the creator's hands. Stencilling gained popularity as a way to recreate the same pattern time and time again.
These days, stencils are used for art and crafting purposes and are made of paper, plastic or metal. They include designs, letters and numbers. The process itself is simple: when paint or other materials are transferred through the stencil’s opening, the design is transferred onto the desired surface, creating replicable designs.
Create your unique stencil art on any clean and sturdy surface. Rough or heavily textured exteriors, where the stencil can’t lay flat, make it difficult to achieve a good finish. However, are ideal when aiming for a rustic, distressed style. The key on uneven surfaces is to paint lightly to avoid the paint bleeding outside the stencil giving an undesired, messy effect.
If you have a surface that is too textured and can be sanded down, give it a go. The smoother your surface, the cleaner your print will be. All stencilling surfaces need to be clean and ready for colour transfer, otherwise there’s a chance your paint won’t adhere to the surface.
If you're having trouble removing grime simply clean your surface with mild soap and water, there’s no need for a costly cleaning solution from the shop. Once your surface is prepped, you're ready to go!

A canvas
Choose your ‘canvas’ and prepare the surface. Let the sky be your limit! An old dinner set, coffee mugs, pillowcases, books, you name it. Give the surface a clean and ensure it’s nice and steady. You may need some masking tape to hold down loose items such as fabrics. For these, use a board and tape to secure the fabric for stencilling.
Find your stencil
Purchase a ready-made stencil from art and craft shops, sketch and cut out your own stencil or pick a picture from a magazine, or jump online and purchase a stencil you can print and cut at home. If you decide to print a stencil, choose a strong paper or light plastic material for your stencil.
Choose your paint
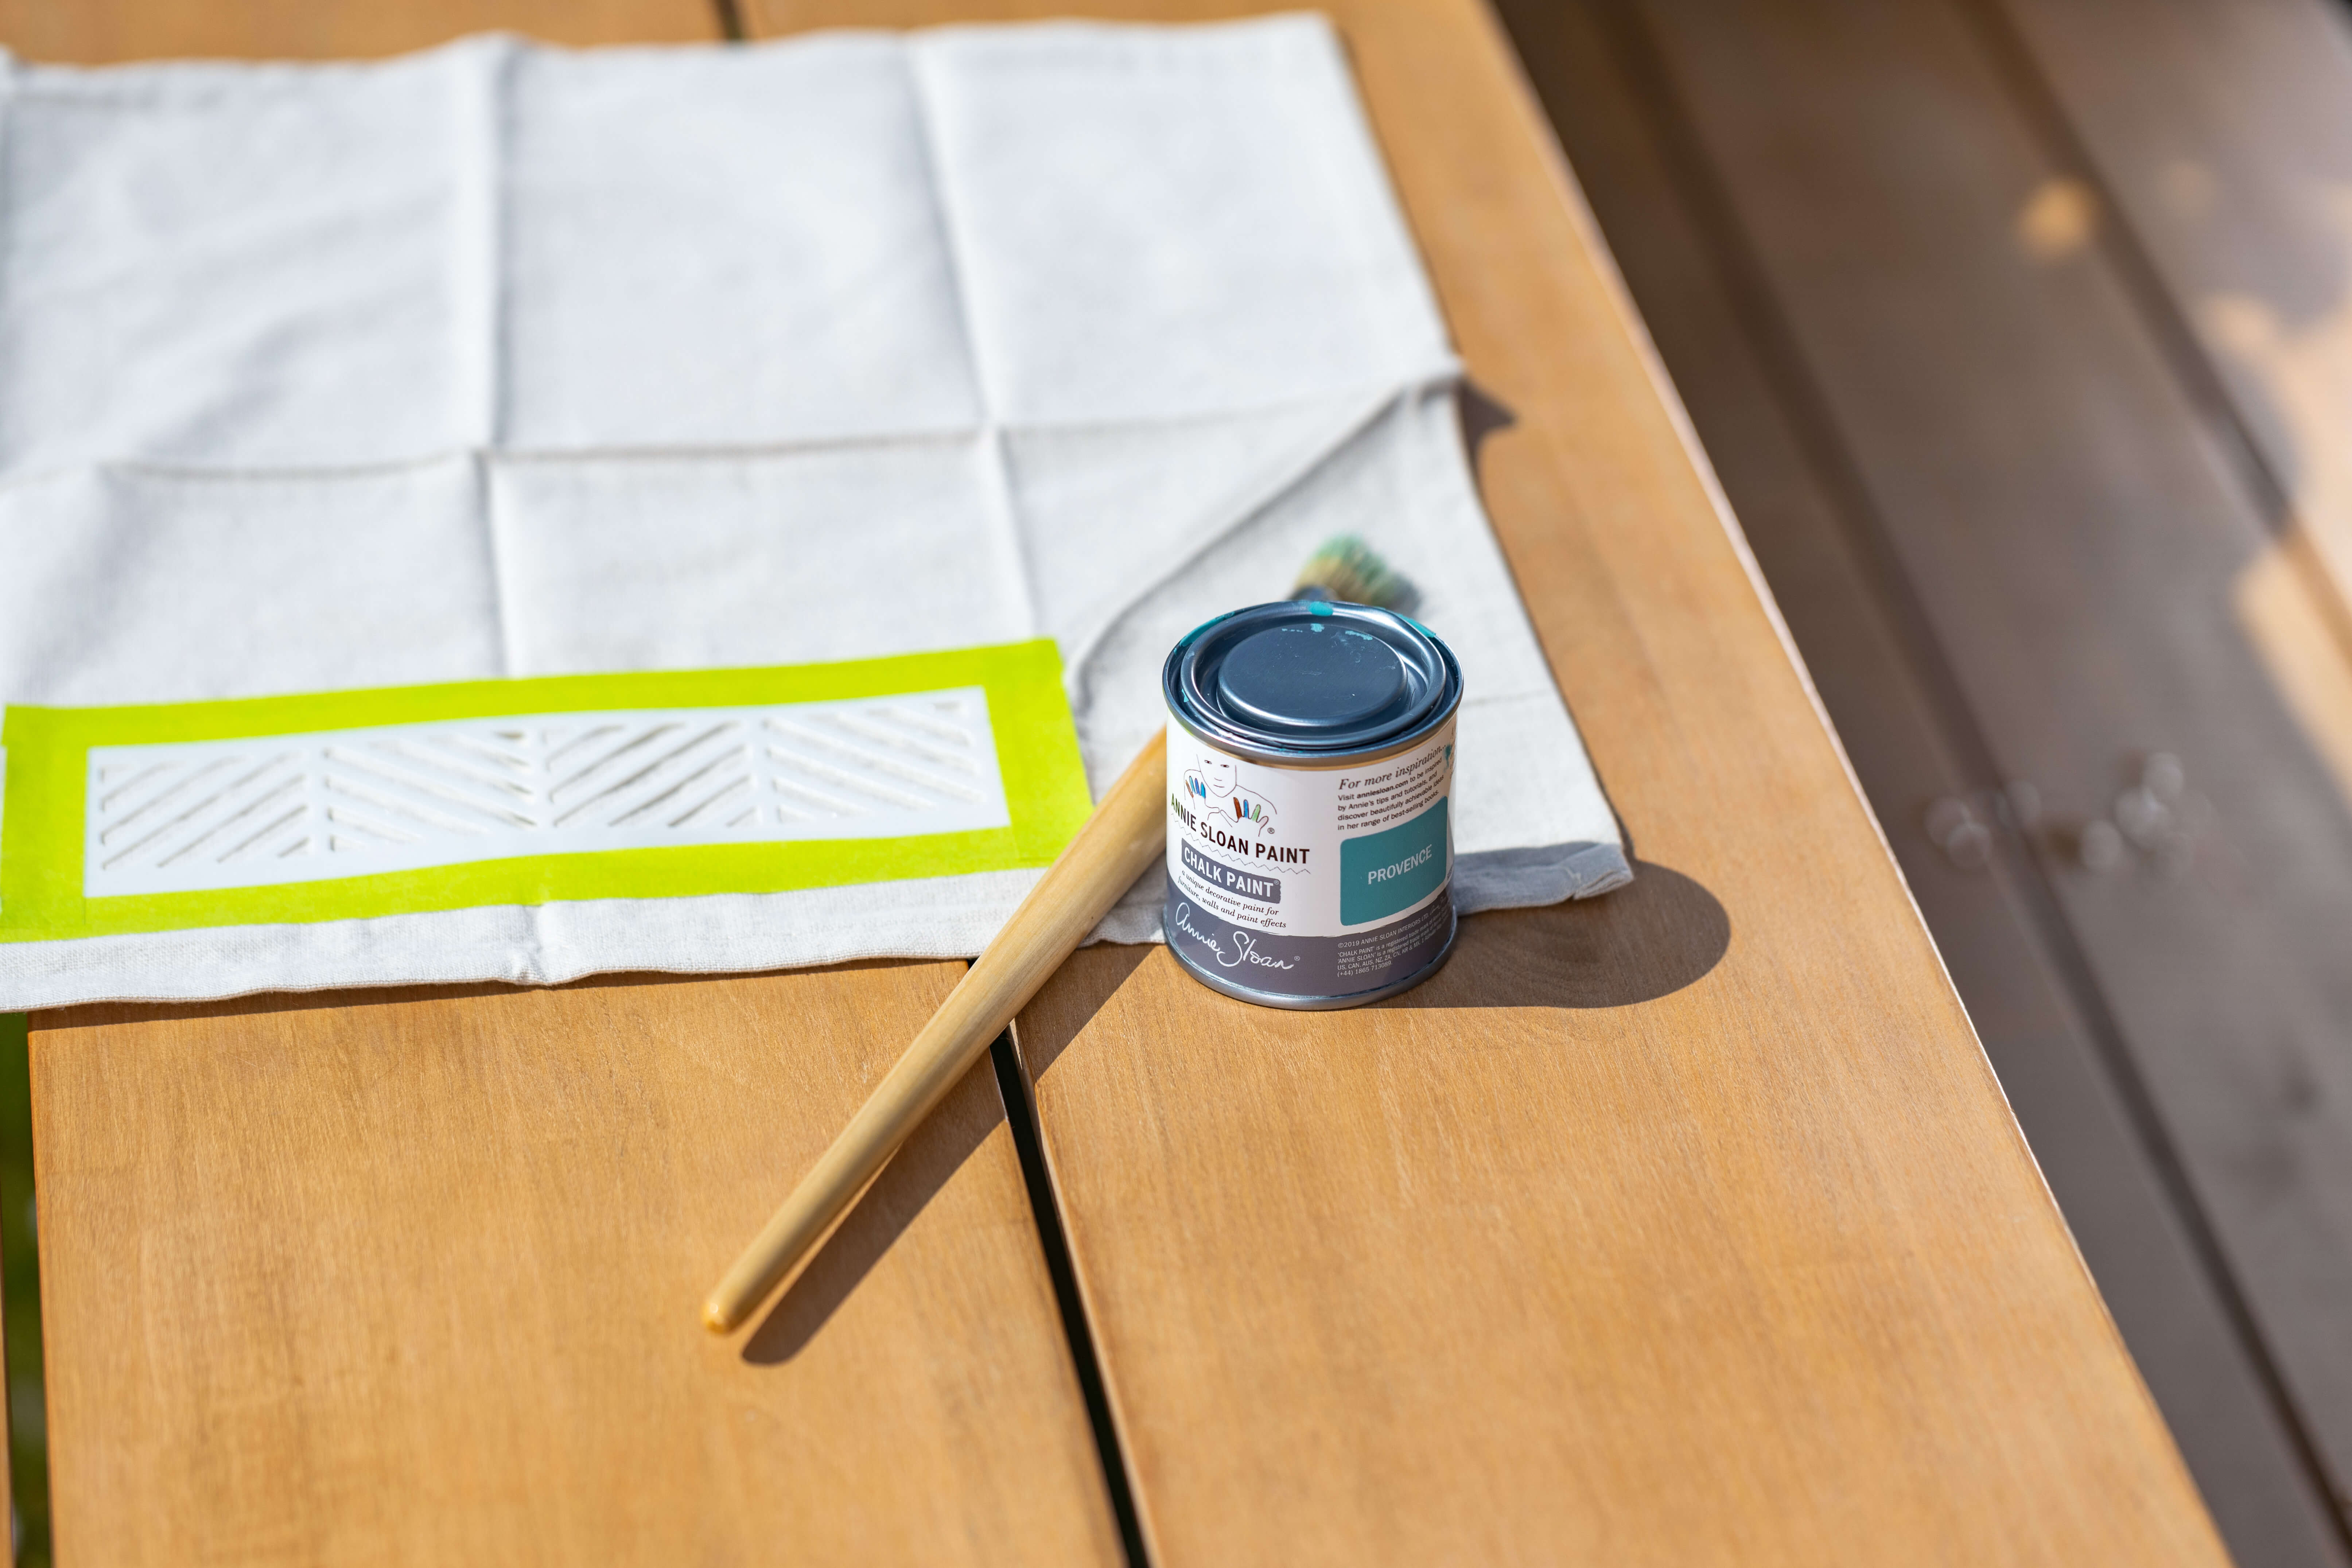
A versatile acrylic paint (using a paintbrush or spray paint) is the most popular option for art destined for interior purposes. Or choose a water-safe paint for outdoors. If you feel like creatively pushing out the boat, give chalk paint or stencil crème a go.
Prepare your application tools
Paint brushes, sponges, rollers, spray paint… go wild trying them all! For a soft, blended look use stencil cremes dabbed on with a sponge. If you want to stencil a larger area like flooring, a wall, or large canvas, a roller is an efficient option. Different paint techniques require different application tools, so have a think about what you want the final product to look like before you get started. If choosing spray paint, always position yourself outside with plenty of air flow.
Keep it tidy with a paint tray
Pour your paint into your tray and if needed, blend different paint colours to achieve your desired colour. If there’s paint left at the end of your stencilling, simply pour back into the tin for next time. A drop cloth is also very important to protect your surroundings. Especially when stencilling walls or spray painting.
Be ready for regular clean ups
It probably goes without saying that stencilling with paint can get messy! You’ll need something on-hand to wipe up any excess splashes, drips, or to fix any mistakes. It’s well worth having a damp paper towel or cloth standing by for any rogue plaint. When it comes to errors during your stencilling, a clean paintbrush dipped in water can help tidy up blurred lines or unruly drips.

Oh, darling! Classy events require equally classy decorations. So, why not whip up a peony wine glass tag for your next sophisticated dinner party or champagne breakfast? You've likely seen wine glass tags used to keep drinks separate. After all, no one wants an unintended Pinot Noir - Sauvignon Blanc blend! These gorgeous wine glass tags feature winsome peony prints. They’re quick and easy to create at home and will last for yonks. Here’s how to create them:
1. Purchase a wine glass tag in your desired size or cut one from a sturdy card. If you have the materials, you may also choose to punch one from metal.
2. Trace and cut a peony stencil or purchase one online. Carefully choose a size that matches your glass tag surface and final desired print. You may want a single peony or several to create a pattern. If cutting at home, use a sturdy card material.
3. Lay the wine glass tag on a flat surface and carefully place the peony stencil over top. Tape in place if required.
4. Mix your paint to the desired colour. A luxurious pastel pink with flashes of brighter pink will give your peony realistic shade and help your stencil dazzle!
5. Using either a sponge or paintbrush, apply the paint directly over the stencil. Be careful to avoid the paintbrush bristles from sneaking under the stencil edge. Remove the stencil and let dry.
6. Using a holepunch, create a small hole and thread through a snippet of twine or ribbon and tie in a basic knot, leaving the ribbon edges free for your guests to tie around their wine glass.
There you have it! Beautiful and functional wine glass tags. Simply tie one around the stem of your glass for a simple detail that can elevate any occasion.
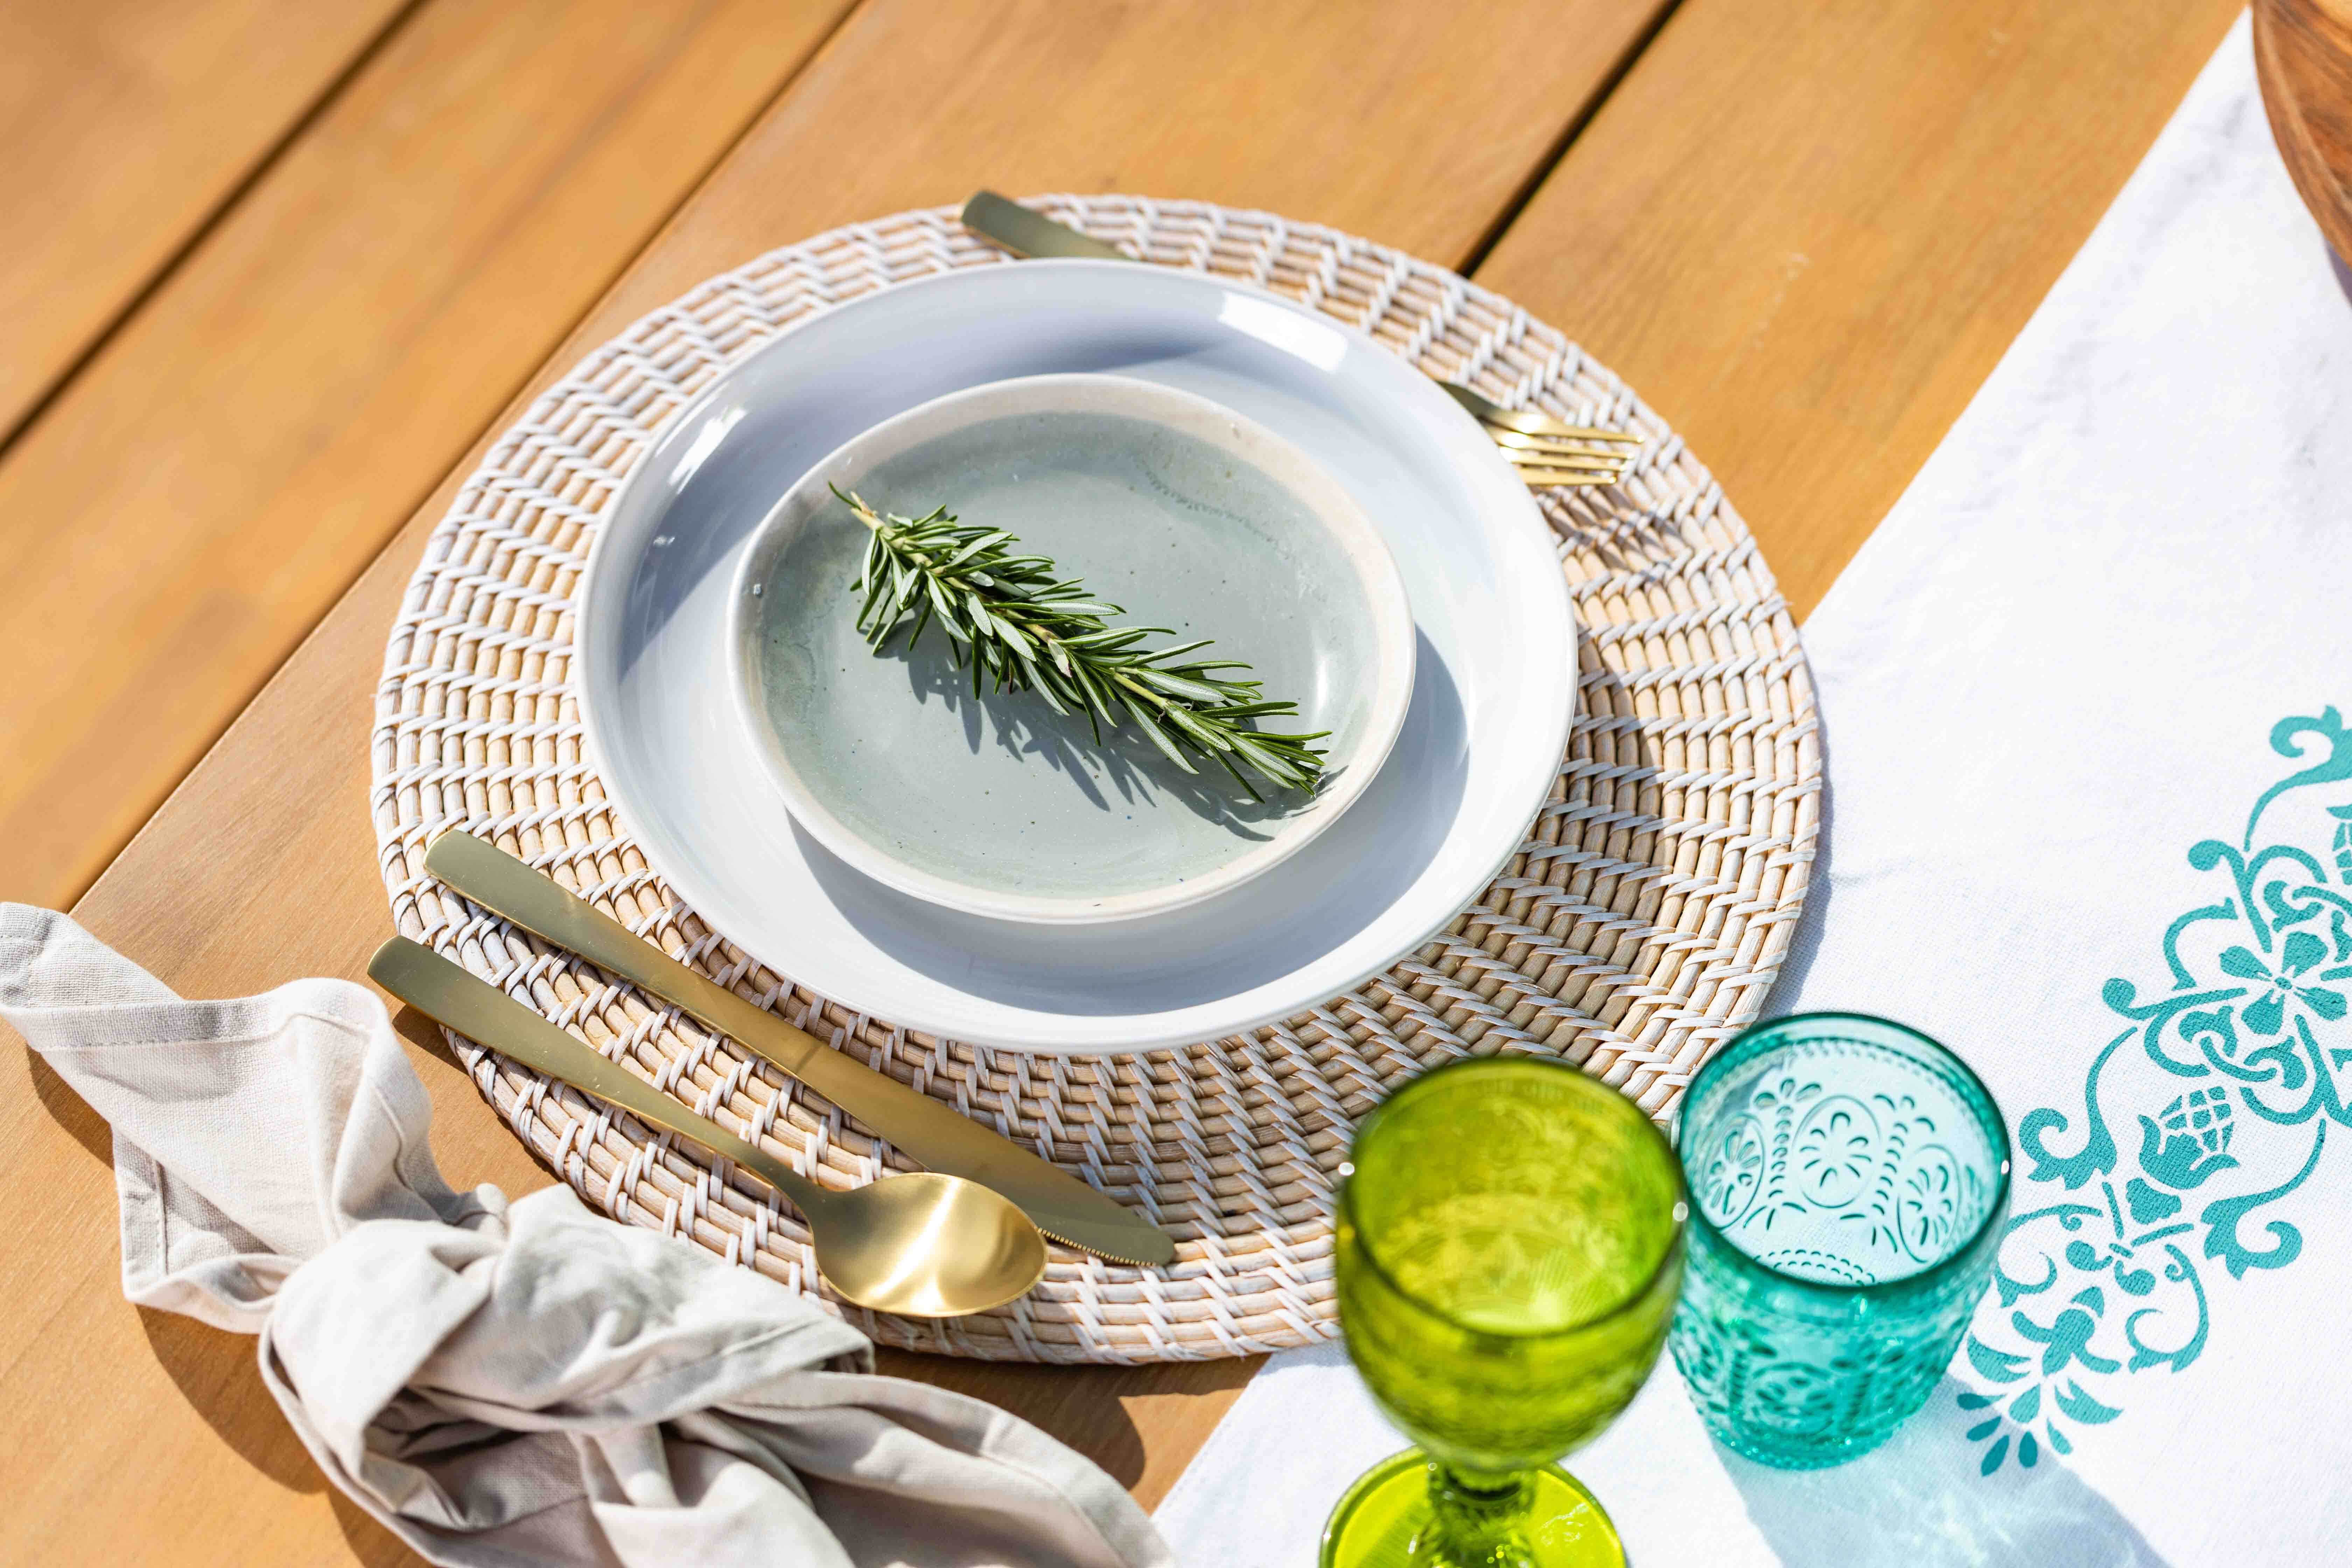
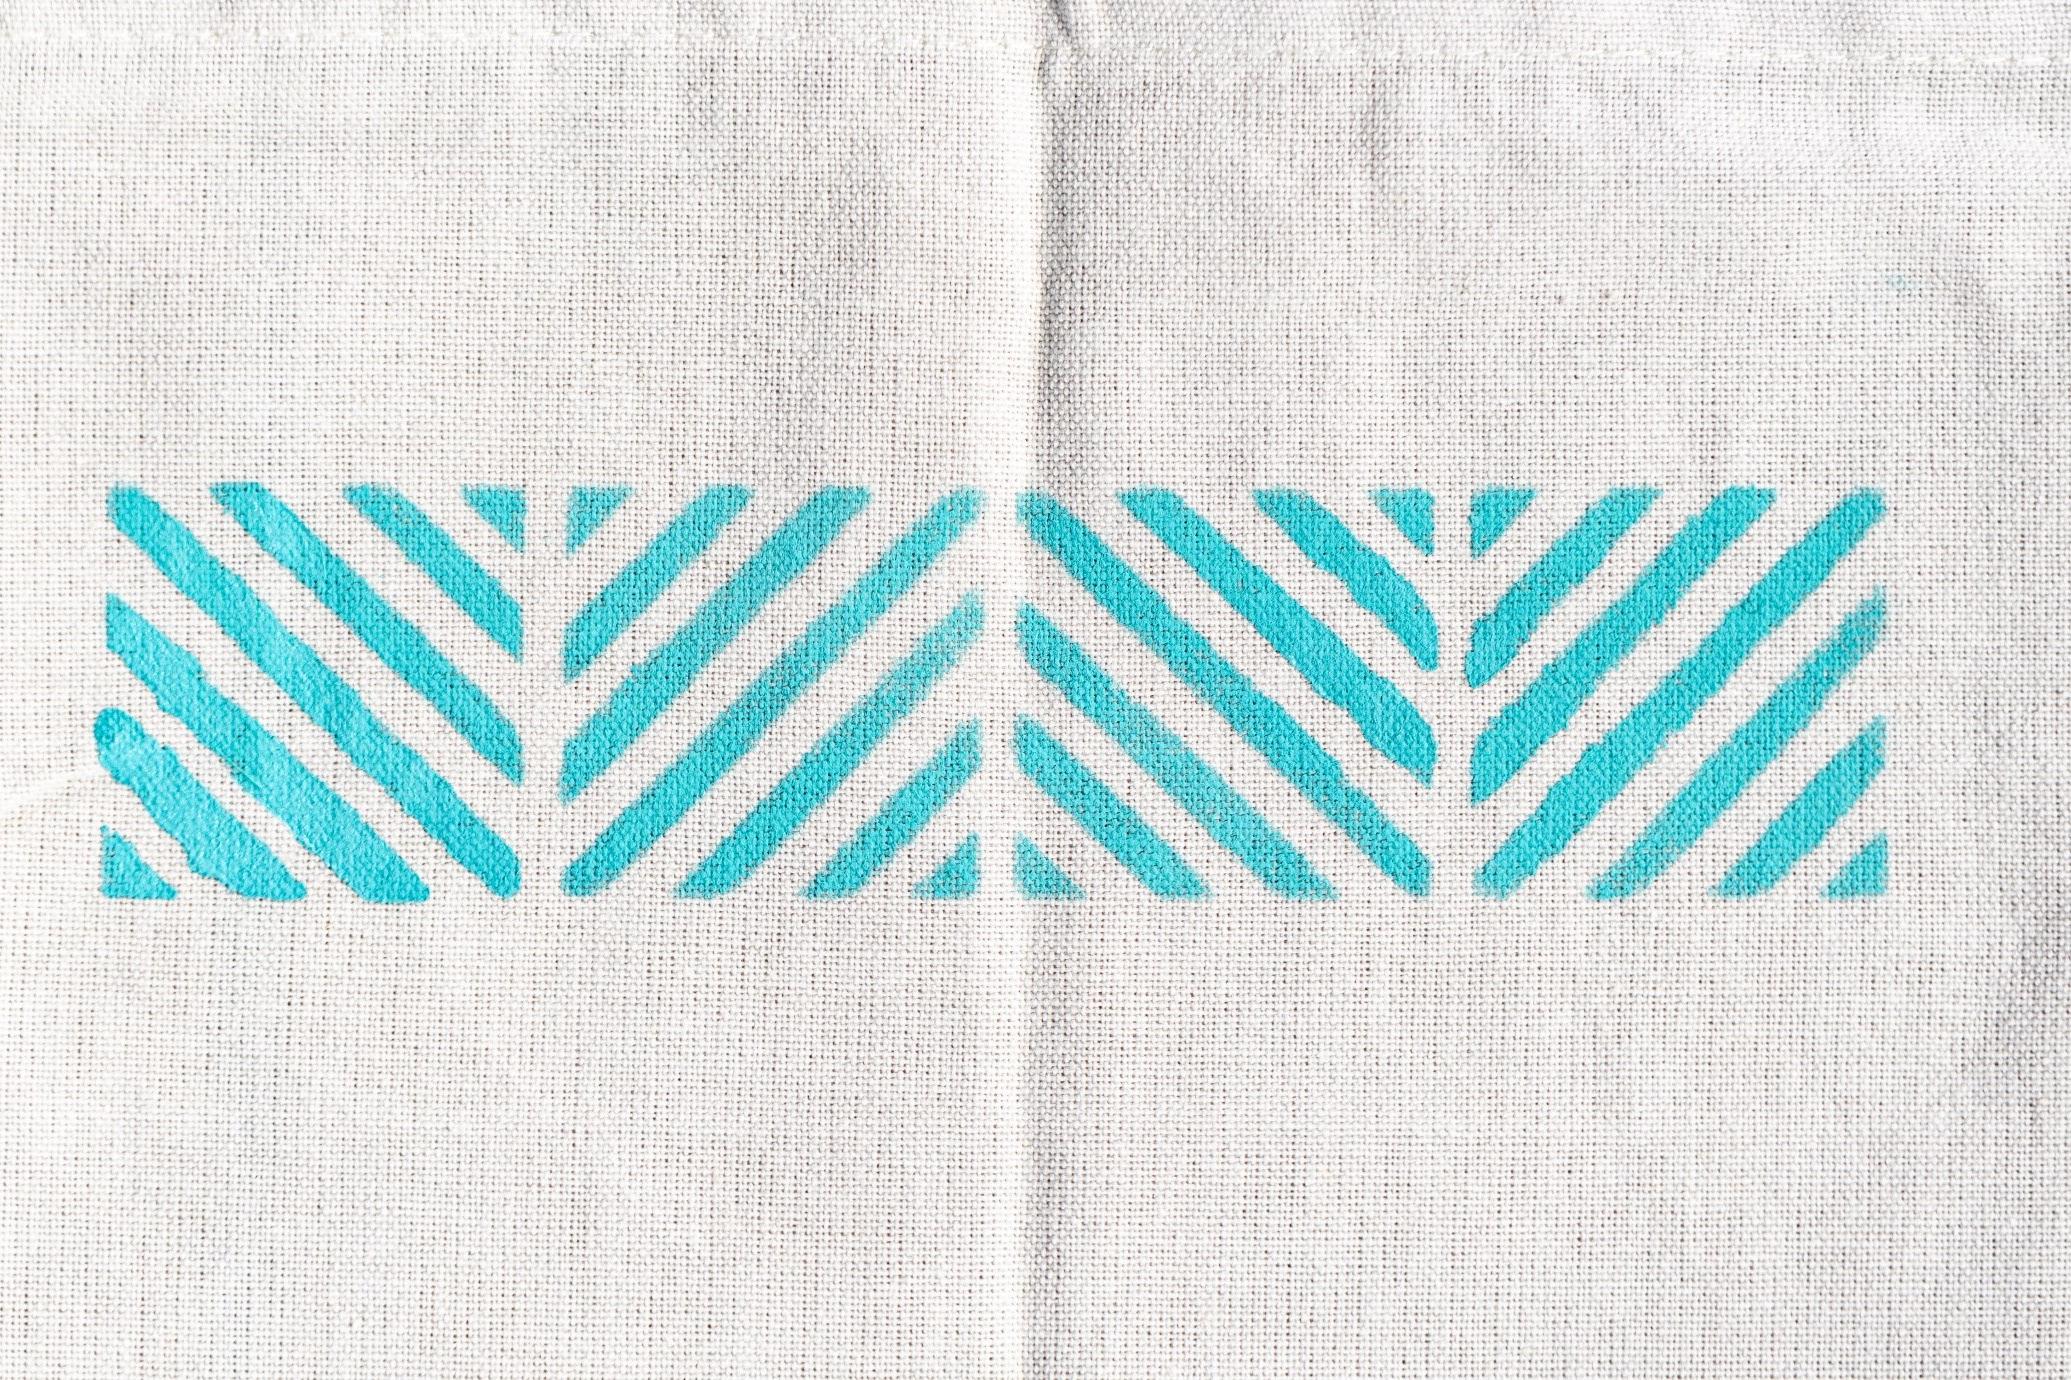
This DIY craft is perfect for revitalising the linen in your closet which rarely gets used. Think napkins, tea towels, tablecloths – and then think of more! This project calls for fabric paint, freshly laundered and ironed linens, and a spark of imagination. If you’ve updated your interior design and the look is no longer cohesive, this is an easy way to bring all the elements together. Follow these steps and say hello to your new homeware, personalised to your unique interior décor.
1. Select a fabric paint in your desired colour.
2. Position your stencil where you want the design to be transferred, atop recently washed and ironed linens.
3. Paint over the stencil and carefully remove it, lifting directly upward to avoid any chance of smudging. For a pattern, place a clean stencil beside the first print and repeat the process.
4. Bridges are the connectors that hold larger patterns like this together. Some people like the bridged look, so if this is you, you’re good to go. But if you want to fill in the bridges and gaps for a seamless pattern, touch these up now.
5. Allow the linen to dry. Check your fabric paint’s instructions and follow their steps to set the pattern in place.
Is there an empty canvas or piece of art lying around your home that you can’t stand to look at, or that doesn’t match the rest of your décor? Refresh it with a stencil print! Achievable at every skill level, DIY wall art is the perfect solution for decorating an otherwise bland wall. Let’s get started!
1. Create or purchase your desired stencil. At this point, it’s worth researching some patterns to find your preferred style. You might choose to try a modern approach like a house silhouette, feathers, snowy mountains, a mandala, or create an abstract design with lines and circles.
2. Tape the stencil in place atop your canvas using masking tape.
3. Using your preferred application tool, apply the paint.
4. Remove the stencil and let dry.
5. If the artwork requires touching up or additional hand-painted lines for originality, do this once dry.
Add an element of eccentricity to your plant pots by stencilling them with bright designs. These make a treasured gift or a stunning addition to your own potted garden. Follow these steps to create a plant pot stencil. Once the pot is dry, all that’s left to do is plant some bright summer flowers, place them in a visible spot, and sit back to admire your efforts.
1. Create or purchase your desired stencil. Make sure it’s a flexible material if it needs to wrap around your plant pot.
2. Apply the stencil using tape around the section of the pot you want to paint the design to.
3. Paint the pot using whichever technique you prefer – paintbrush, spray paint, sponge.
4. Carefully remove the stencil and let the paint dry.
5. This step depends on the look you want your pot to have. If you’re seeking a rustic, distressed style, take some sandpaper and lightly rough the paint. If you prefer a polished style, take a smaller paint brush and touch up any blurred lines for a sharp design.
Stencilling is an experimental hobby that allows the artist (that’s you!) to release creativity. The anticipation you feel when lifting your stencil to reveal a beautiful design underneath is exhilarating. Stencils are such an enjoyable way to incorporate a bright punch of colour in your home and they allow you to breathe new life into a worn-out object. Handmade DIY projects are therapeutic and enjoyable, while also being practical. So, shall we stencil?
by Hilary Freeth | Dec 9, 2020
Suellen’s sweet Christmas tradition
Easter and ANZAC Day fun with grandkids