

.jpg)


.jpg)
%20(1).jpg)
-
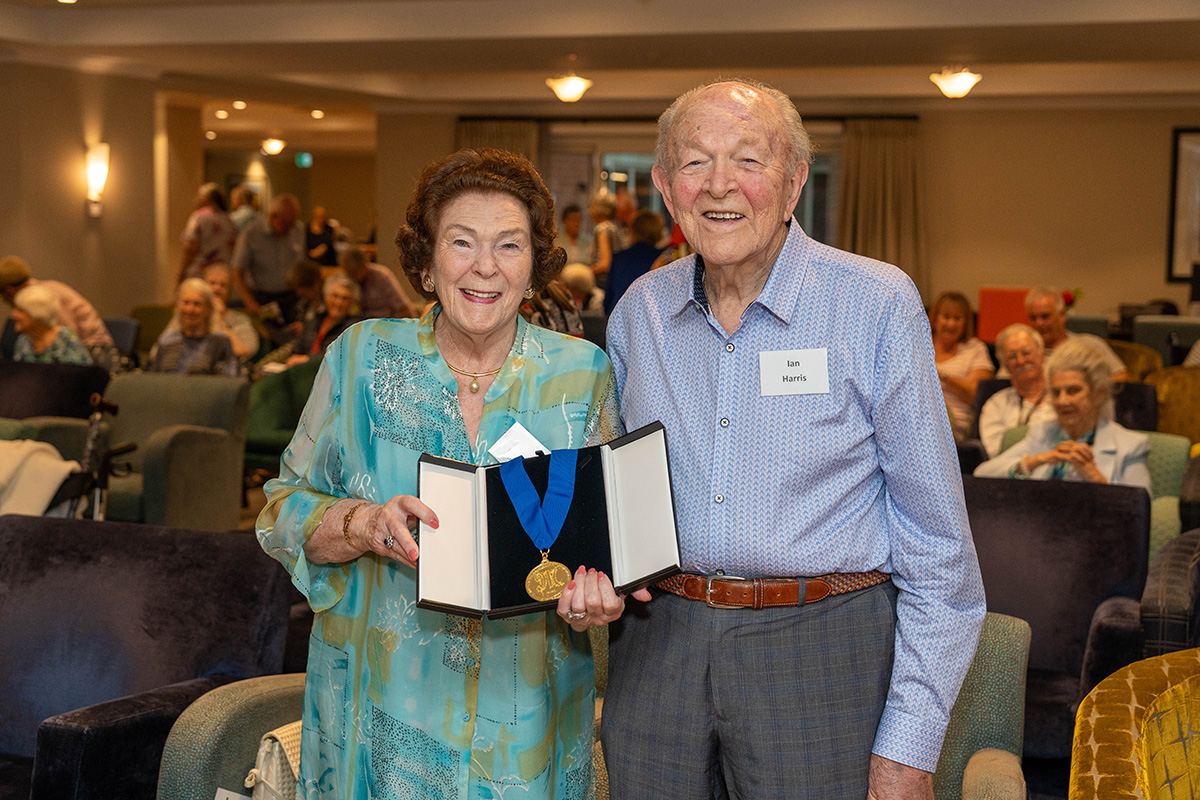
A lasting legacy in Opera: Nance Grant honoured with the Melba Medal
There was a special sense of occasion at Nellie Melba Village recently, as residents and guests gathered to celebrate one of Australia’s great operatic voices.
Nance Grant AM MBE was awarded the Melba Medal by the Melba Opera Trust — the organisation’s highest honour — in recognition of her lifelong contribution to opera and her ongoing support of emerging Australian artists.

-
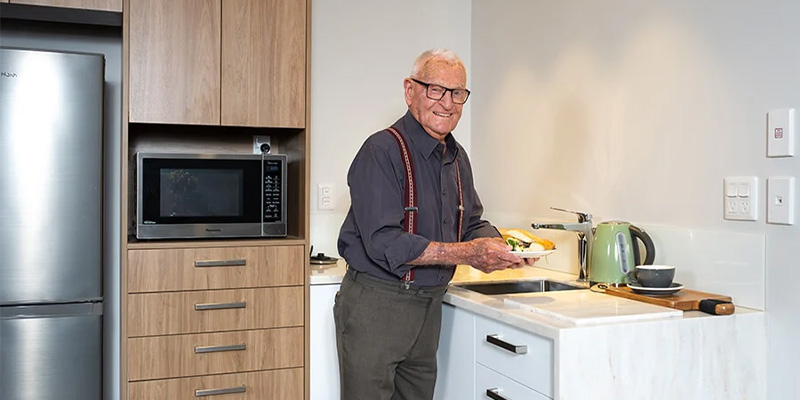
Aged care for couples: staying together, supported together
Moving into aged care is a significant decision for any couple. Alongside practical considerations, it can bring emotional questions about independence, health changes, and whether you’ll be able to stay together after a lifetime of shared routines.
One of the most common concerns is what happens when care needs aren’t the same. If one partner needs more support, does that mean living apart?

-
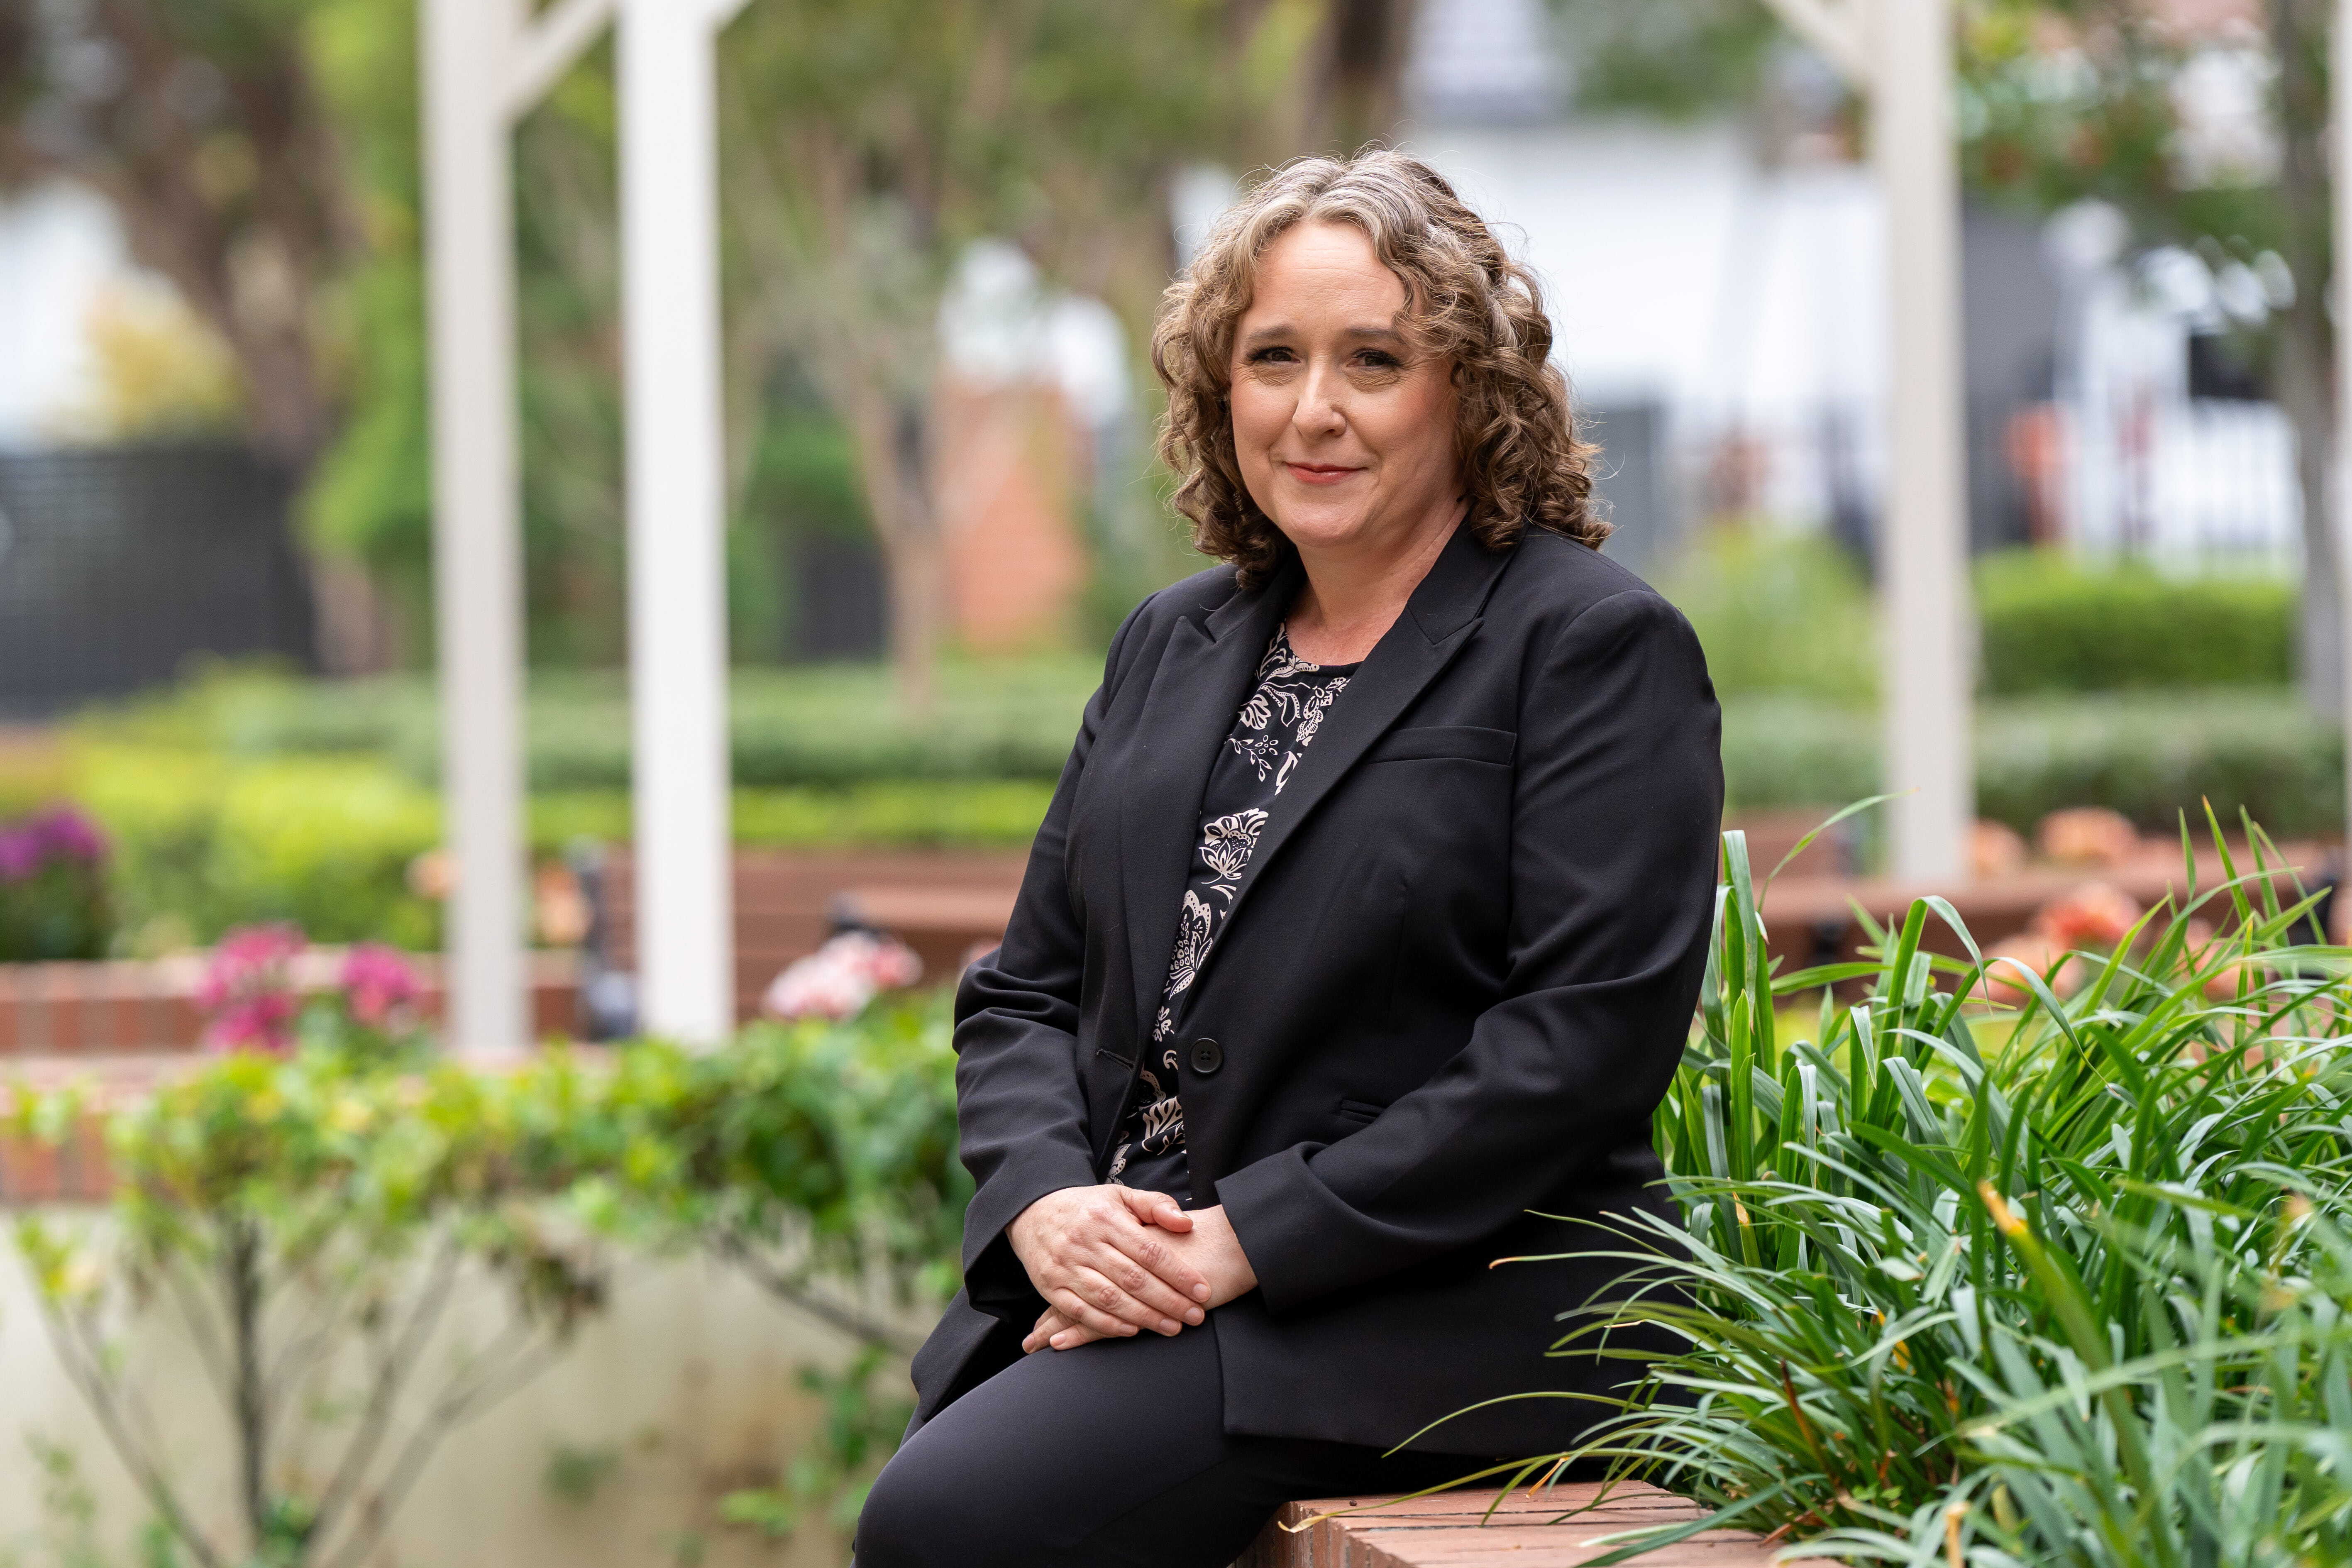
“I believe in what I do.” Inside Michelle Smith’s role at Nellie Melba Village
Michelle Smith’s passion for retirement living and aged care was shaped long before it became her career.
Growing up, she spent much of her childhood around aged care facilities, watching her mother work as a head nurse and seeing firsthand the respect and dignity she showed the older generation.

-
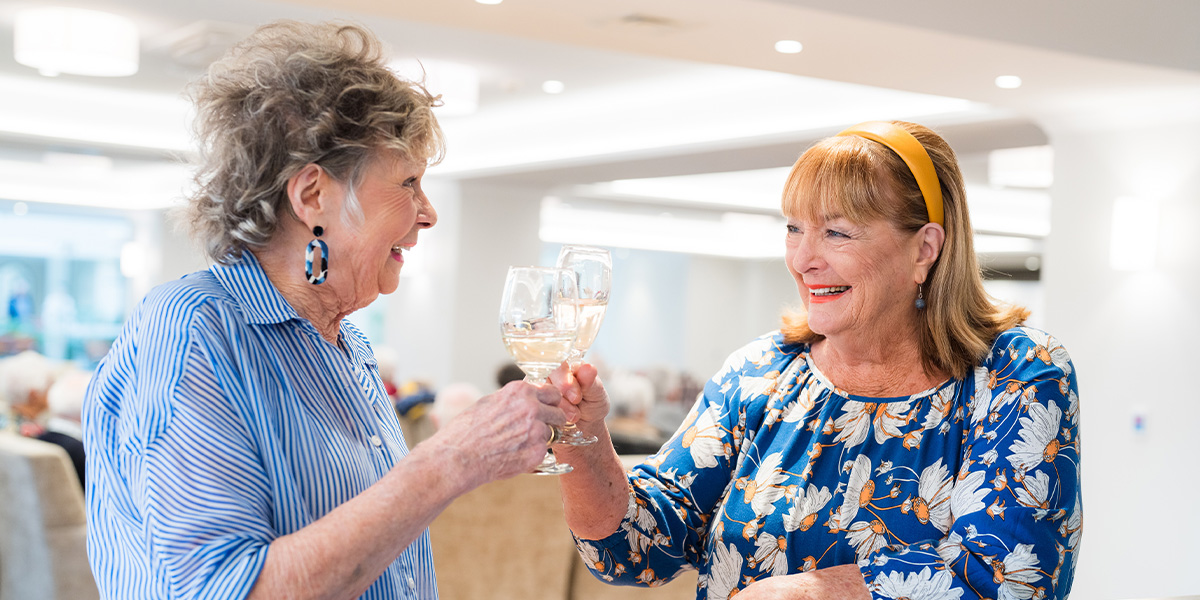
Enduring power of attorney (EPOA): a simple guide
Moving from working life into retirement living is a major life transition, and it’s also an ideal time to think ahead and make choices to protect your independence now and in the future.
Among the decisions that you may be considering is whether to put an Enduring Power of Attorney (EPOA) in place. An EPOA ensures your voice is heard and your wishes are upheld, even if a time comes when you’re no longer able to make decisions yourself.
%20(1).jpg?width=1200&height=800&name=BNE%20-%20Ginny%20Denis%20-%20Care%20Centre%20-%20April%202025%20(5%20of%2042)%20(1).jpg)