


-
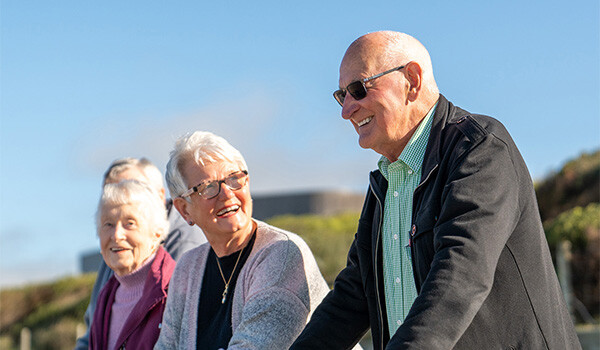
How to have an epic retirement
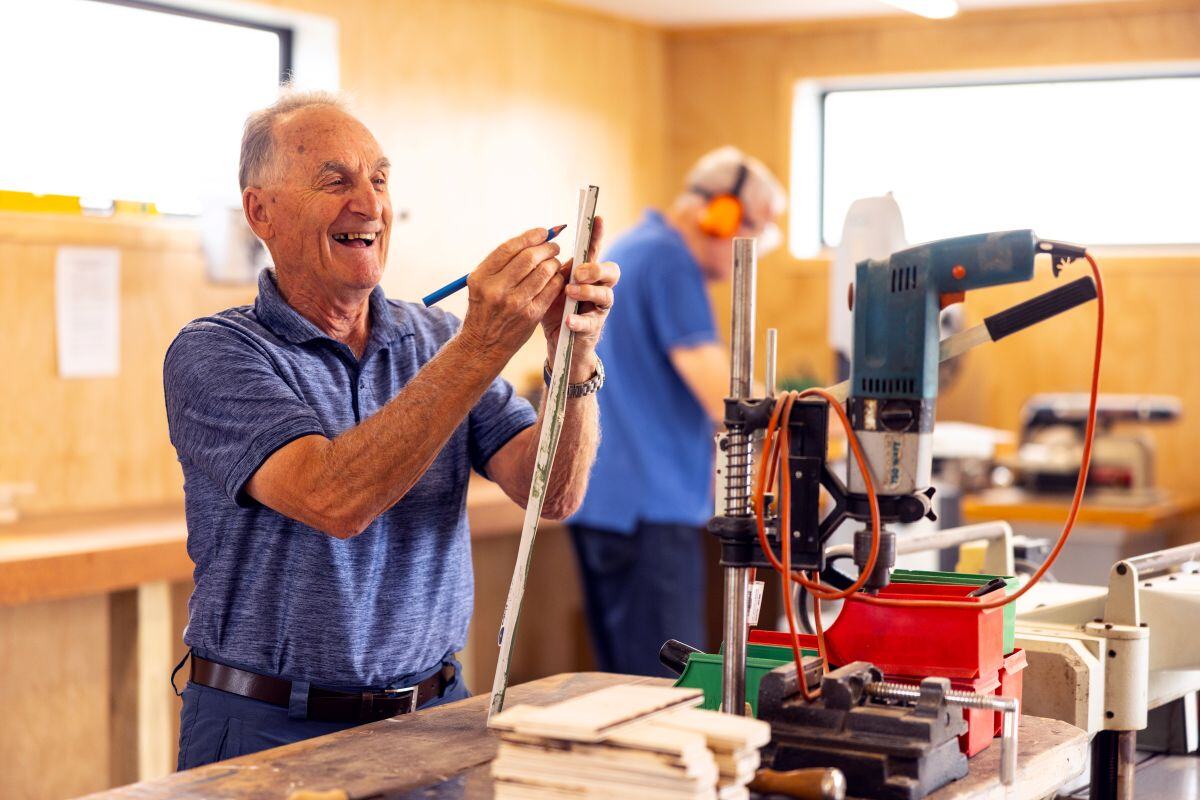
Retirement is a real turning point in life, giving you the freedom to dive into new adventures, explore fresh hobbies, and find joy in ways you might’ve put on the backburner during the busy years of work and family life. It’s your time to focus on what makes you happy.
With stunning landscapes, a laid-back lifestyle, and that classic Aussie culture, Australia is the perfect spot to make the most of your retirement. At Ryman Healthcare, you’ll get top-notch independent living options and exceptional care, all within a vibrant, supportive community of like-minded people.
-
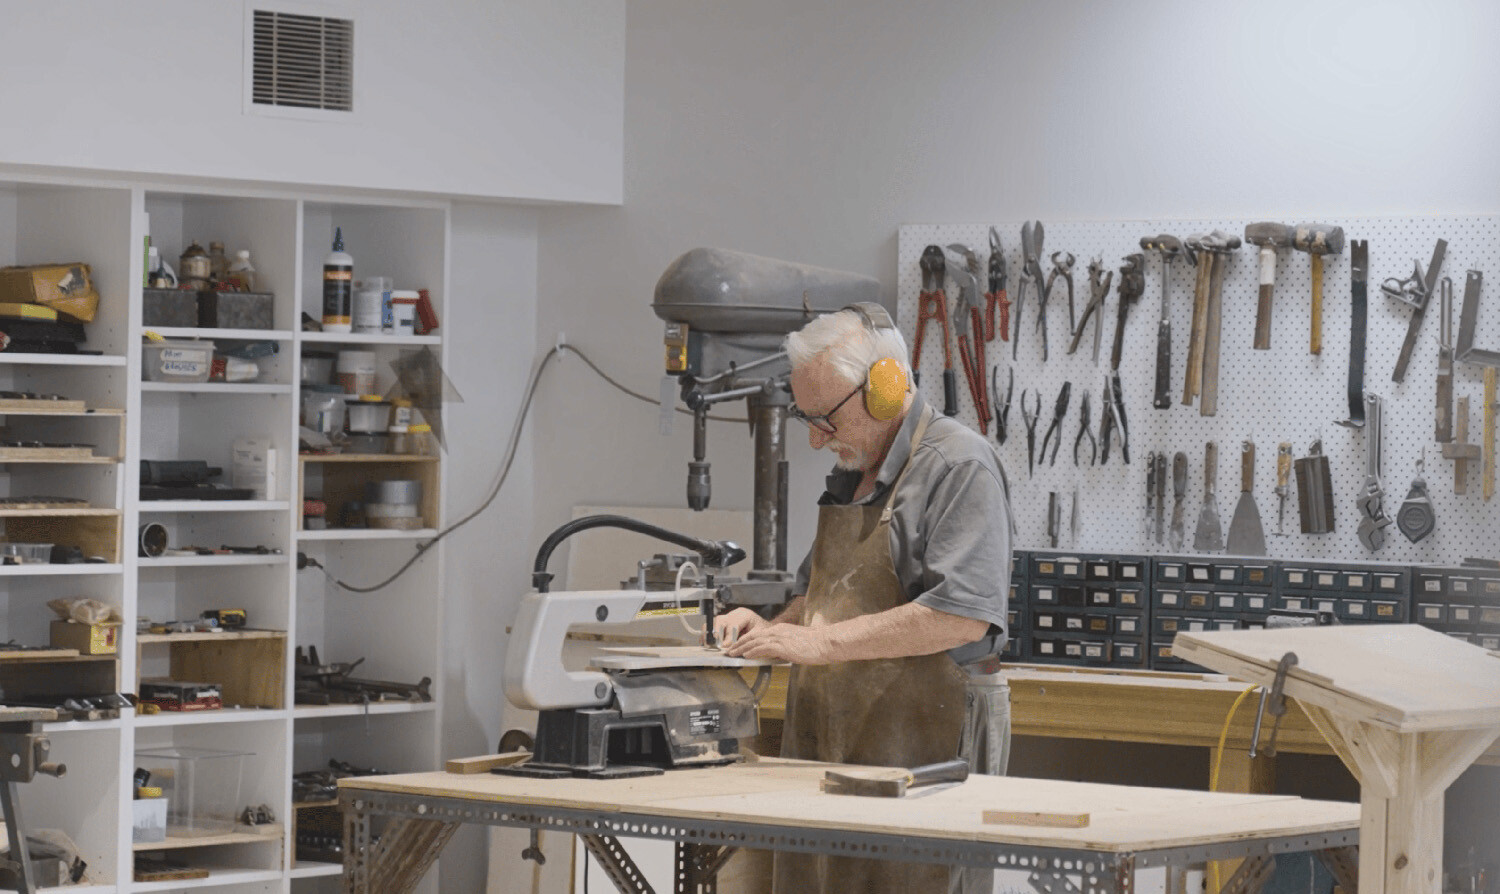
Five ways to boost your brain health
Nearly half a million Australians live with dementia, a figure that is expected to more than double by 2058.

-
Questions to ask when choosing a retirement village
When thinking about retirement living options, it’s not always easy to decide what is the right choice for you and your family. With so many options to consider, it’s a good idea to come prepared with the key questions to ask.
The following information aims to arm you with the right questions to ask and key themes to look out for when considering a retirement village. It will help you to choose the best living option for you and your family.
-
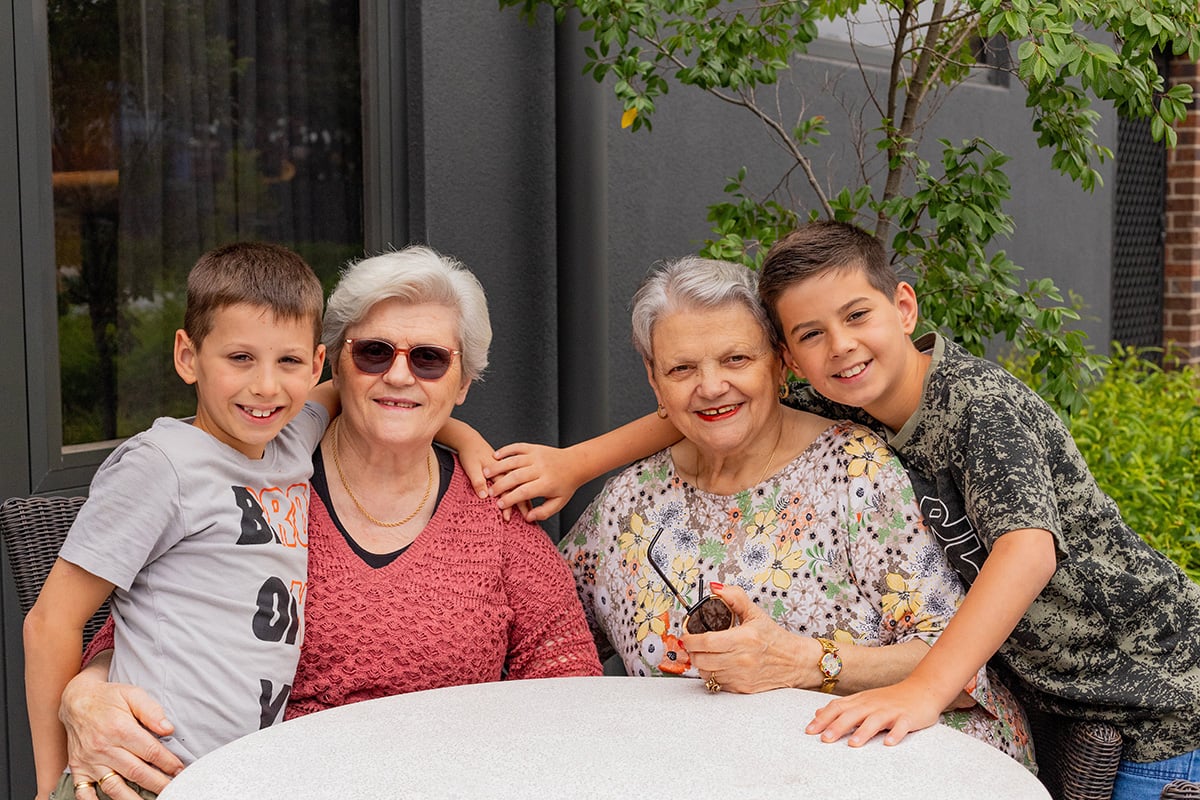
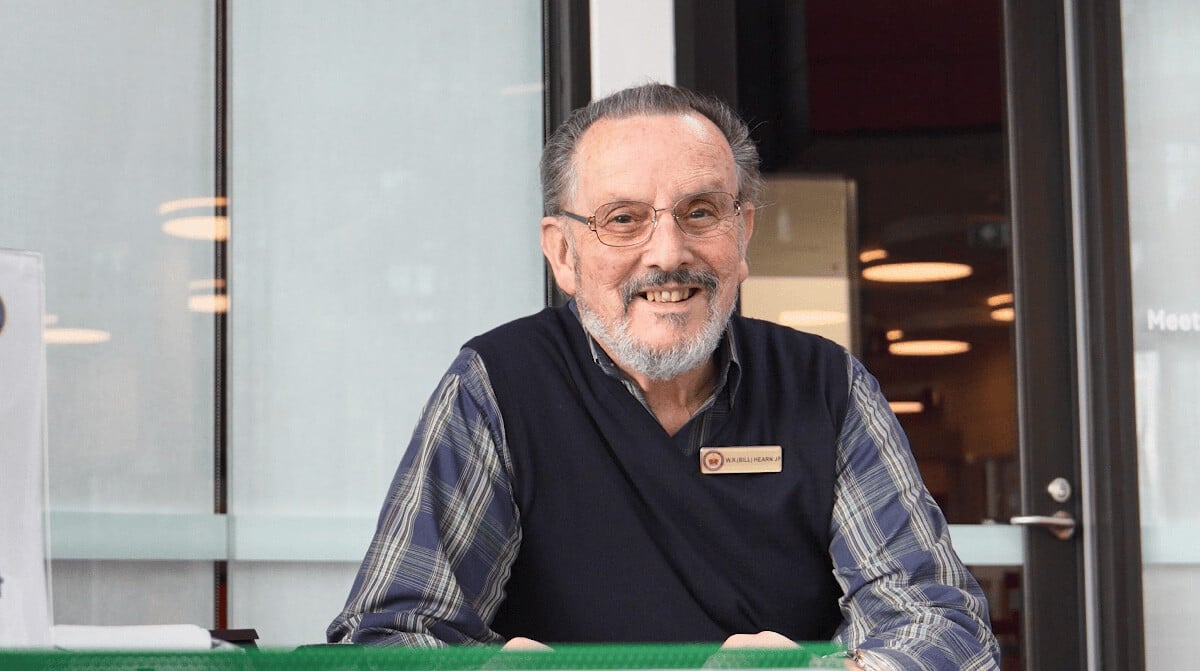
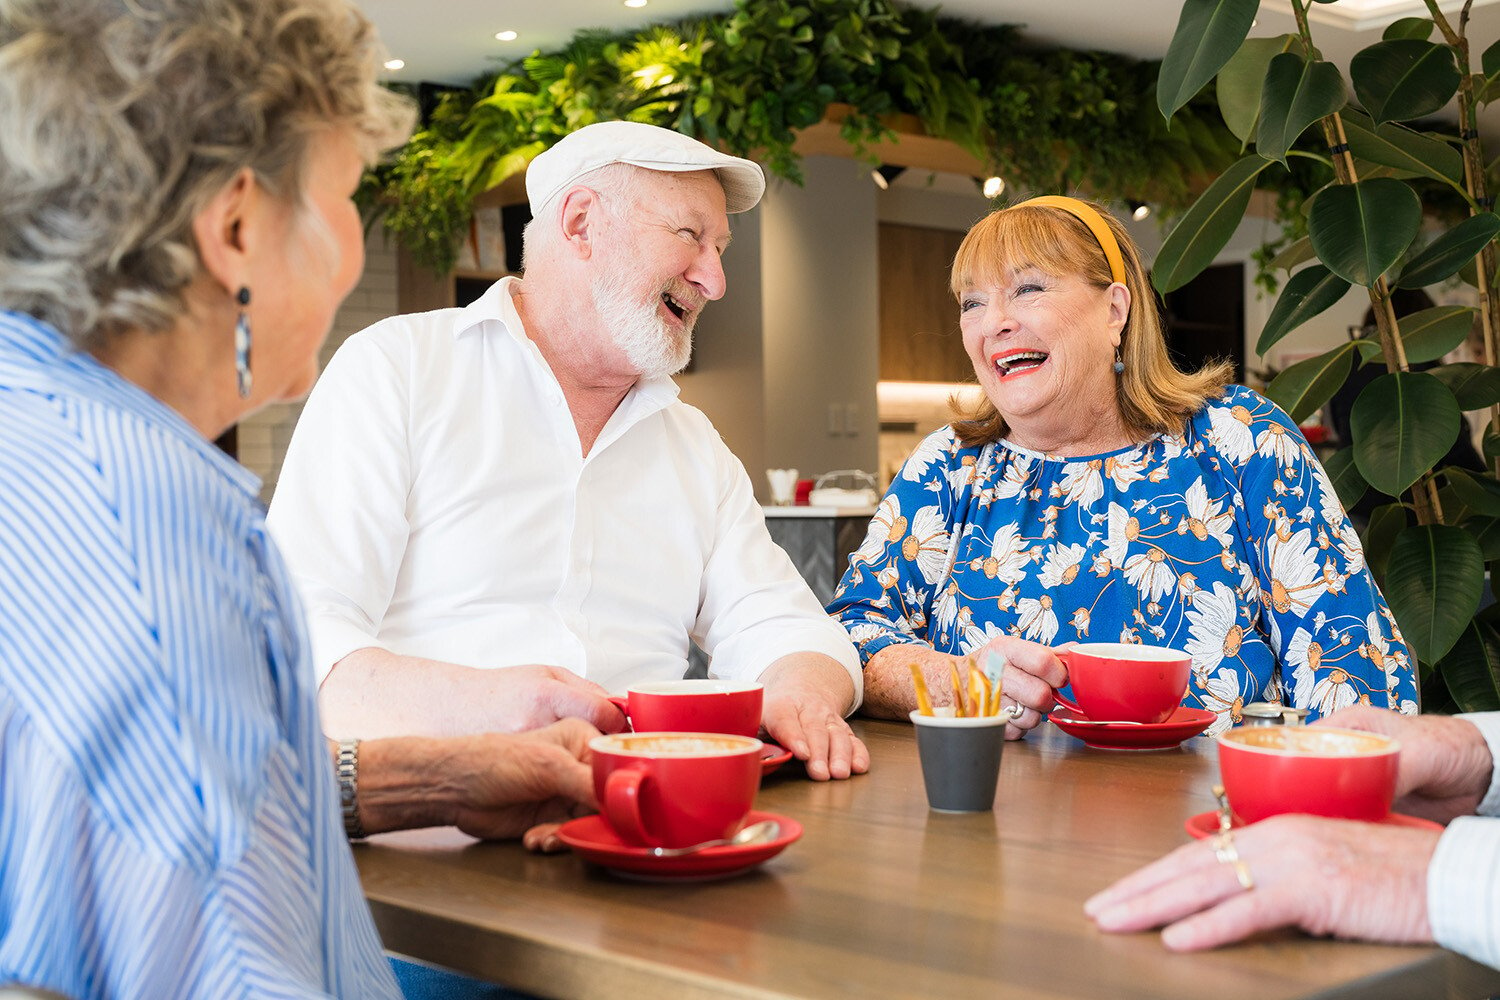
Call to tackle health impacts of loneliness among older Australians
Loneliness can double a person’s chance of developing a chronic illness and more than quadruple their likelihood of developing depression and social anxiety, Australia’s first State of the Nation Report on Social Connection says.
Speaking on Ryman Healthcare’s Pod of the 3rd Age podcast, Ending Loneliness Together Scientific Chair Dr Michelle Lim said loneliness was a critical health issue experienced by nearly 1 in 3 Australians.

-
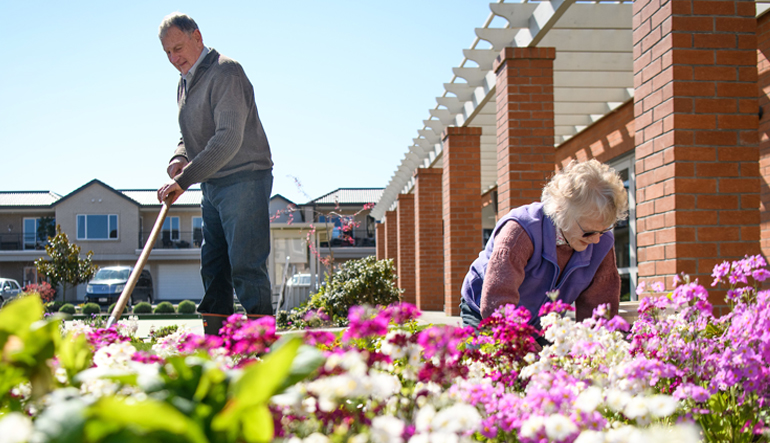
Top tips for a garden that's small but beautifully farmed
It's one of life's little ironies that, when you retire and finally have time to spend gardening, you might not have the same energy levels to maintain a big garden anymore.
Many retirees are loath to the idea of abandoning gardening altogether, but are happy to find ways to indulge their green thumbs on a more manageable scale.
Moving to a home with a smaller garden, or with someone on site to help with the heavy jobs, can be the perfect solution.